Replacing a basement window might sound like a job for a professional person, but information technology's really quite doable if you accept the knowledge and the right guidance. That's where nosotros come up in. We'll evidence yous how to supervene upon a basement window in 10 steps. Nonetheless, the beginning step ever begins with preparation!
Before You Begin
Hither is a list of tools and supplies to ensure yous take before y'all brainstorm replacing your basement window. In addition to these things, brand sure you set up your work area. Make sure that kids or pets volition not go far the way. Likewise, if there is piece of furniture or anything else in the way that may pose a tripping hazard while yous are working, be sure to move it.
Before y'all begin ripping out the window you lot are replacing, you need to do a couple of things. Because if you lot take out the quondam window before yous are prepared, y'all may find yourself with a hole in the basement and naught to put in it. If you need to gild a new window, it could accept a few weeks to arrive at your building center.
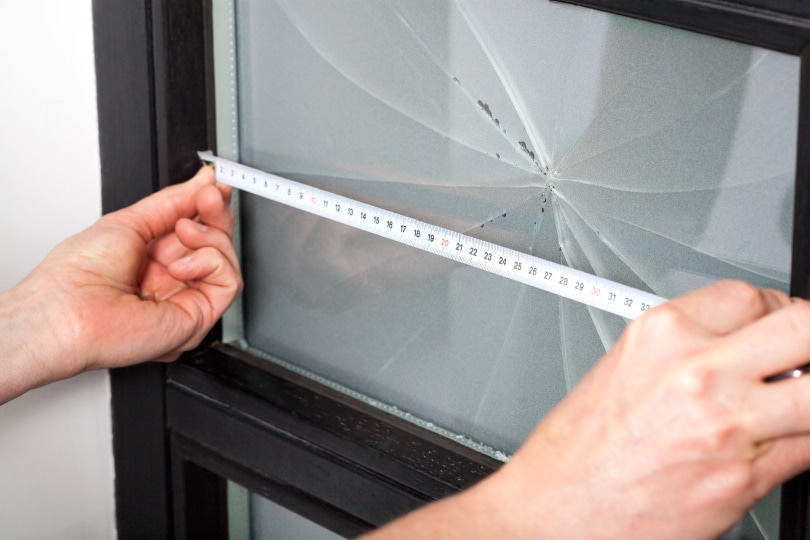
The kickoff matter you need to exercise is make up one's mind whether the window and frame both need to be replaced or but the window. If the frame is non rotted or warped, you may exist able to replace just the glass. If this is the example, mensurate the height and width of the existing glass and take those measurements to your local edifice middle. If yous determine the frame needs to be replaced, measure the height and width of the whole window.
If you cannot order the verbal size to replace the existing window, go the closest size under because expanding cream will fill that gap and secure the window.
Paradigm Credit: Photographee.eu, Shutterstock
2. Remove Old Window
At present that you've picked upwardly your new window, information technology's fourth dimension to become to work. Make certain that you have the time to complete the project before you lot start trigger-happy because one time you starting time, you're not going to want to get out it unfinished.
Protecting yourself is the kickoff task. Make sure you put on leather work gloves to protect your hands and safe glasses to protect against any flying debris during the demolition phase.
In the case of a wooden window, it is a relatively straightforward process. Using a hammer and pry bar, you volition be able to remove the old sash. Once you do this, y'all should be able to access and remove the screws holding the window in place. With the screws removed, slide the window out. You may need to utilise your knife to split the window from expanding foam in some cases. A reciprocating saw can unremarkably go the job done if a knife doesn't work.
If the old window has a metallic frame, y'all must first cheque whether it is screwed or riveted in place. If it is screwed, only remove the screws and slide the window out. Still, if information technology is riveted, you will need to drill the rivets out beginning.
3. Set up Opening for New Window
Once you've safely disposed of the old window, yous may take a very rough opening. If the physical foundation was poured later on the original window was installed, there will likely be a rough concrete lip to smooth out.
After y'all've got a smooth surface all the way around, brand sure yous give the expanse a thorough sweep or vacuum. Giving yourself a clean space to work with volition brand the rest of the process much easier.
Image Credit: Pavel L Photo and Video, Shutterstock
4. Install Bucks
If the foundation is physical, yous volition have to install new bucks if the erstwhile ones were rotted or warped. First, measure out the 4 sides of the opening. So from the 2×4 board, cutting four pieces to fit snugly inside the opening. Use a articulation and seam filler and attach each board with masonry screws.
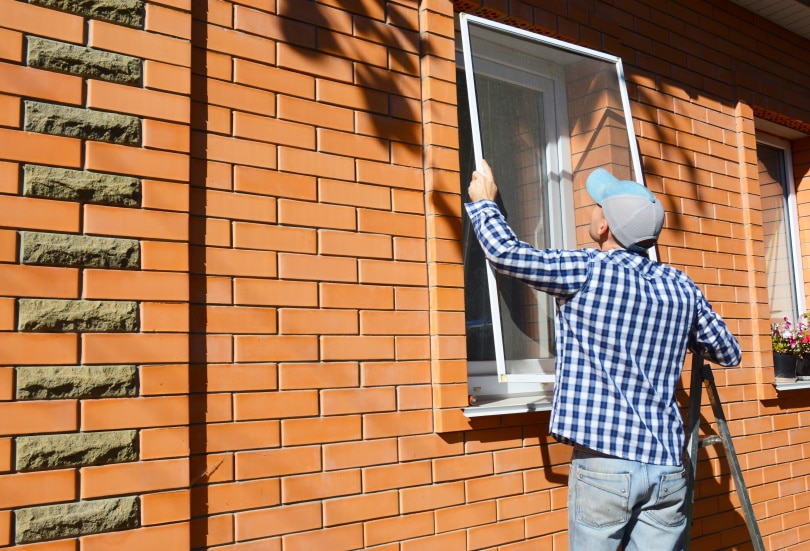
five. Put Window in Place
This step goes much easier with a helper, but if you are on your ain, at that place are a couple of tricks every bit long as y'all tin lift the new window yourself. Start place approximately a ½ inch of shims where the window will sit. Without knocking your shims over, tilt the window and then you lot can extend the whole thing through the window. Straighten information technology out and pull it back in against the outside wall and rest it on the shims.
The window would and then be straight in a perfect globe, but it never goes that way, particularly with renovations.
Lay your level across the bottom of the window. Shim up and down on each side appropriately until it is perfectly level. Also, make certain that at that place is an approximately even gap on each side. Once you lot have a level window and even openings on each side. Shim the sides snug besides; this will make screwing in the window easier.
Image Credit: Dmitry Kalinovsky, Shutterstock
Note: It is essential you get the window perfectly level at this point, or it may non open and shut properly.
six. Secure Window
Some windows will have specific areas marked for where to screw. If yours doesn't, doing it inside the sill works well because the screws will exist hidden when the window is closed.
The central thing to call up when putting in the screws is not to over-tighten as this can severely damage the window and pull it out of foursquare. A proficient rule of pollex is to spiral until information technology but starts to pull and dorsum the screw off slightly considering the primary goal hither is to secure it while you spray in the expanding foam. Two screws (top and bottom) on each side volition exist more sufficient.
In some situations, you could even forgo screwing the window, only it is usually advised.
7. Use Expansion Foam
At this indicate, you lot don't want to get carried away with the expansion foam because it creates a disastrous mess if information technology gets where you don't desire it. If you're non familiar with expansion cream, it may be a adept thought to squirt a little chip in a garbage bin so you tin get a skilful idea of how much it will aggrandize.
Once you are fix to apply it around the space between window and buck, stick the nozzle and utilize the foam in a steady movement effectually the window. Permit information technology to expand. Once information technology has expanded as much as it will, yous can add some more if you need to. If some of information technology extended past the edge of the window, look until it cures, and you volition be able to cut it off clean and flush with a pocketknife.
Image Credit: Try_my_best, Shutterstock
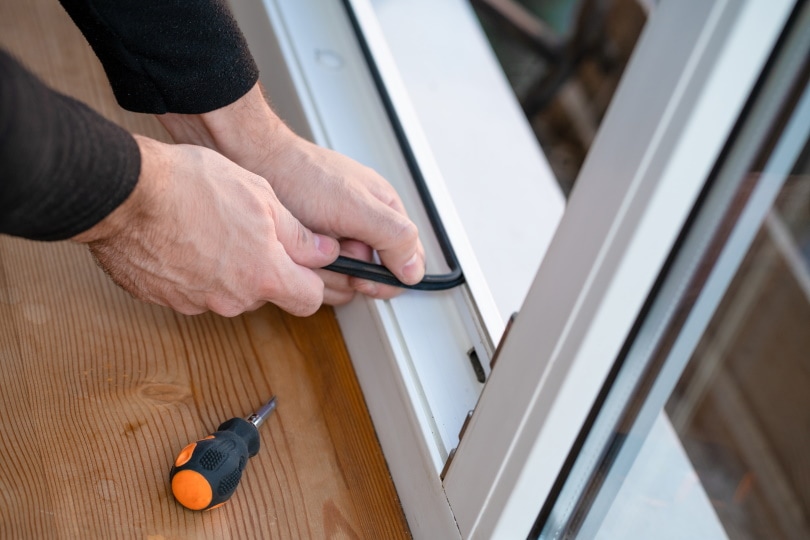
viii. Caulk Exterior Seam of Window
Make sure you are using outdoor caulking fabricated for windows. A significant reason for this is that the caulking stays a little flexible fifty-fifty once information technology is cured. Information technology too creates a conditions-tight seal that won't erode quickly by sun or weather. Clean up whatsoever messes before the caulking dries.
nine. Prime Window Frame (Or Seal)
If you've just installed a wooden framed window, it'south important that you prime or seal the wood—specially the exterior, just information technology's a skilful idea to do the interior also. Whatever primer or clearcoat rated for exterior use will be acceptable. Follow manufacturer's instructions for awarding and drying times listed on the container.
Image Credit: Greg McGill, Shutterstock
ten. Install Trim around Interior Window Frame
Trim is the nicest and easiest fashion to finish the interior of your window frame. There are a couple of tips to keep in mind for the trim installation. First, prime the trim once earlier cutting and installing to save on endeavor in one case it's upward. Second, add a petty bit of wood glue to your mitered joints to help forbid joint separation as the wood expands and contracts.
Things to Keep in Mind When Fixing Basement Windows
Measure twice, cut once!
Always follow the manufacturer'south directions on all containers and packaging.
Overkill is almost ever better than not.
Take your time, especially if this is the first window y'all have changed. Sometimes missing something tin result in starting over and can get expensive.
Epitome Credit: Radovan1, Shutterstock
Conclusion: How to Replace Basement Windows
And in that location yous have it! If you follow these simple but effective steps, you can replace a bedroom window yourself and salve yourself a ton of money in the process!
Featured Image Credit: ANDY RELY, Shutterstock
Contents
1 Before You lot Begin
ii How to Replace Basement Windows (10 Steps)
2.1 1. Measure for New Window
2.2 2. Remove Sometime Window
ii.iii 3. Prepare Opening for New Window
two.iv four. Install Bucks
2.5 5. Put Window in Place
two.6 6. Secure Window
2.7 seven. Employ Expansion Foam
2.8 eight. Caulk Exterior Seam of Window
2.ix nine. Prime number Window Frame (Or Seal)
ii.10 x. Install Trim around Interior Window Frame
3 Things to Keep in Listen When Fixing Basement Windows


0 Response to "How To Replace Old Basement Windows"
Post a Comment